Products · fencing systems
Fencing systems made of WPC composite
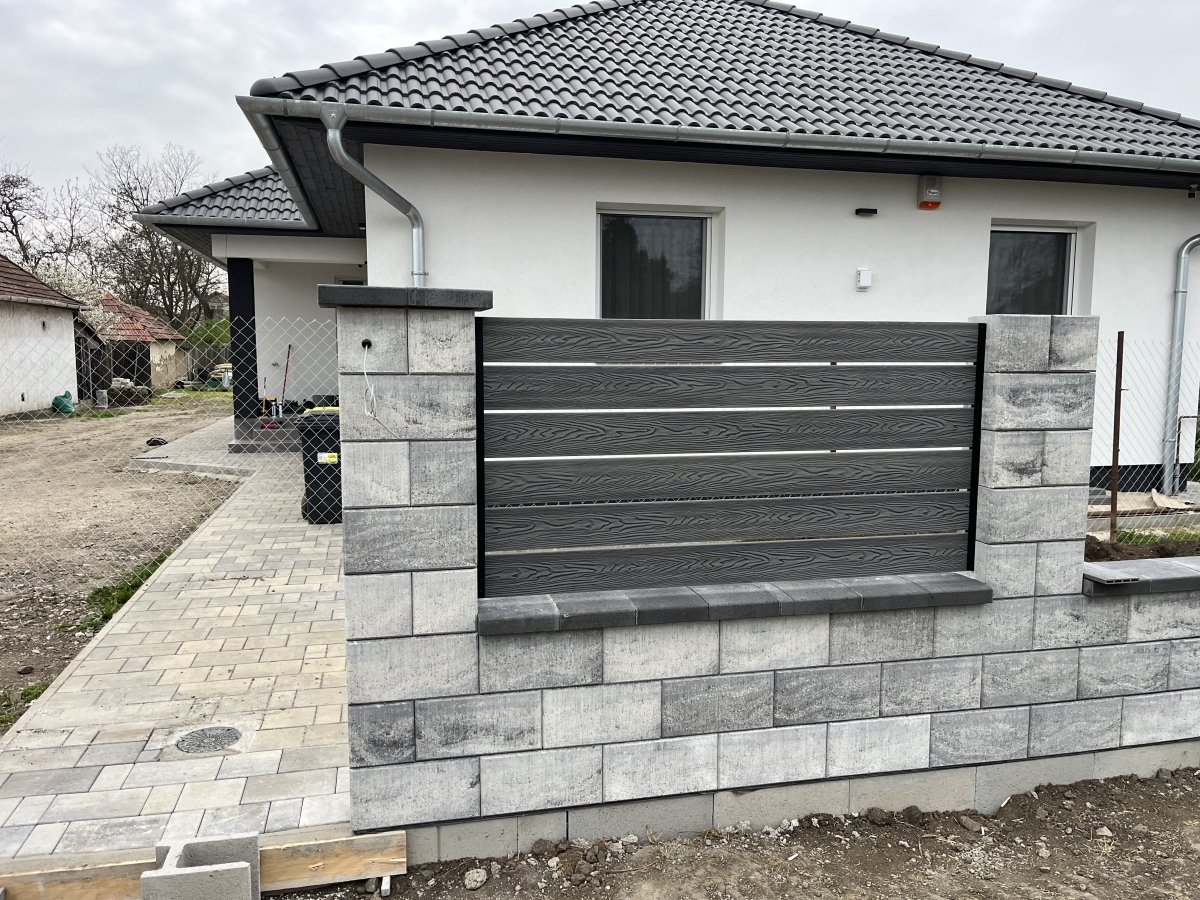
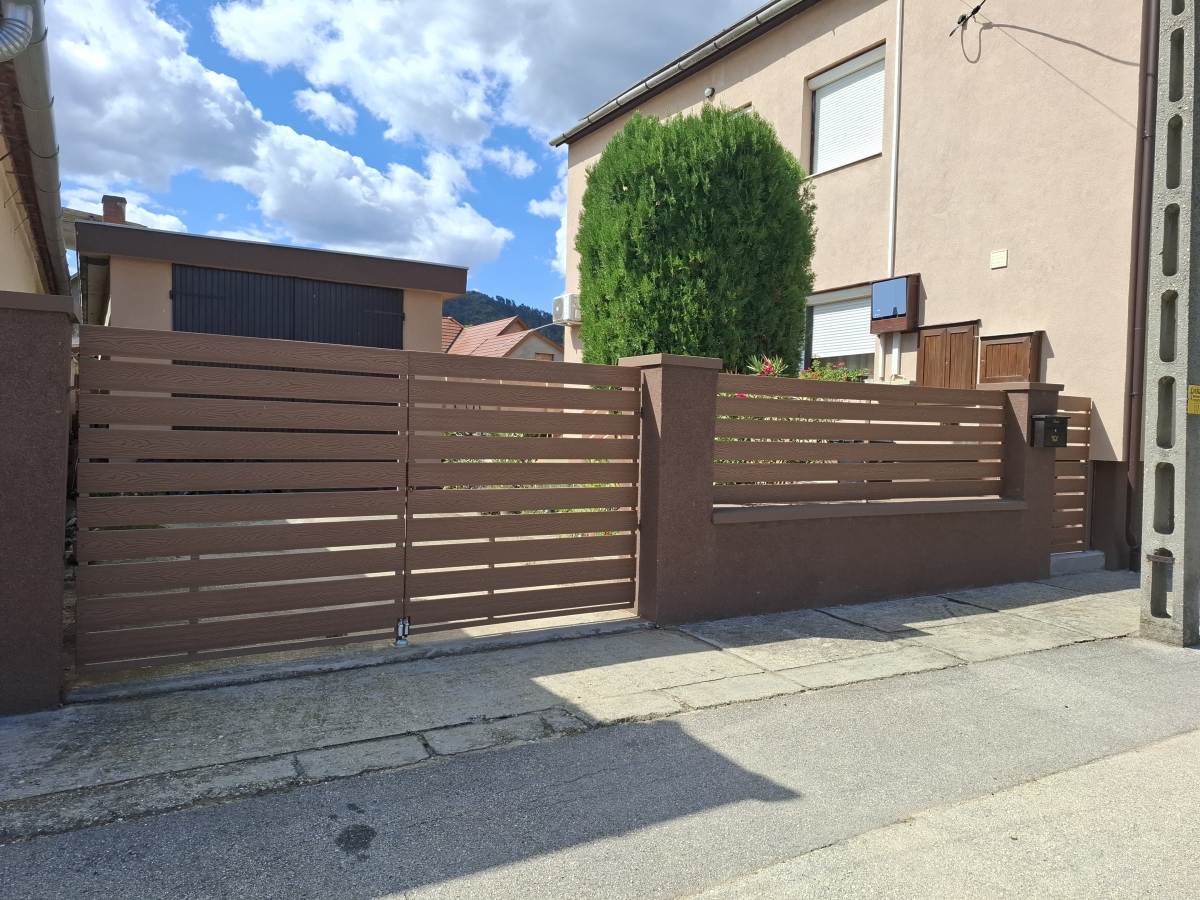
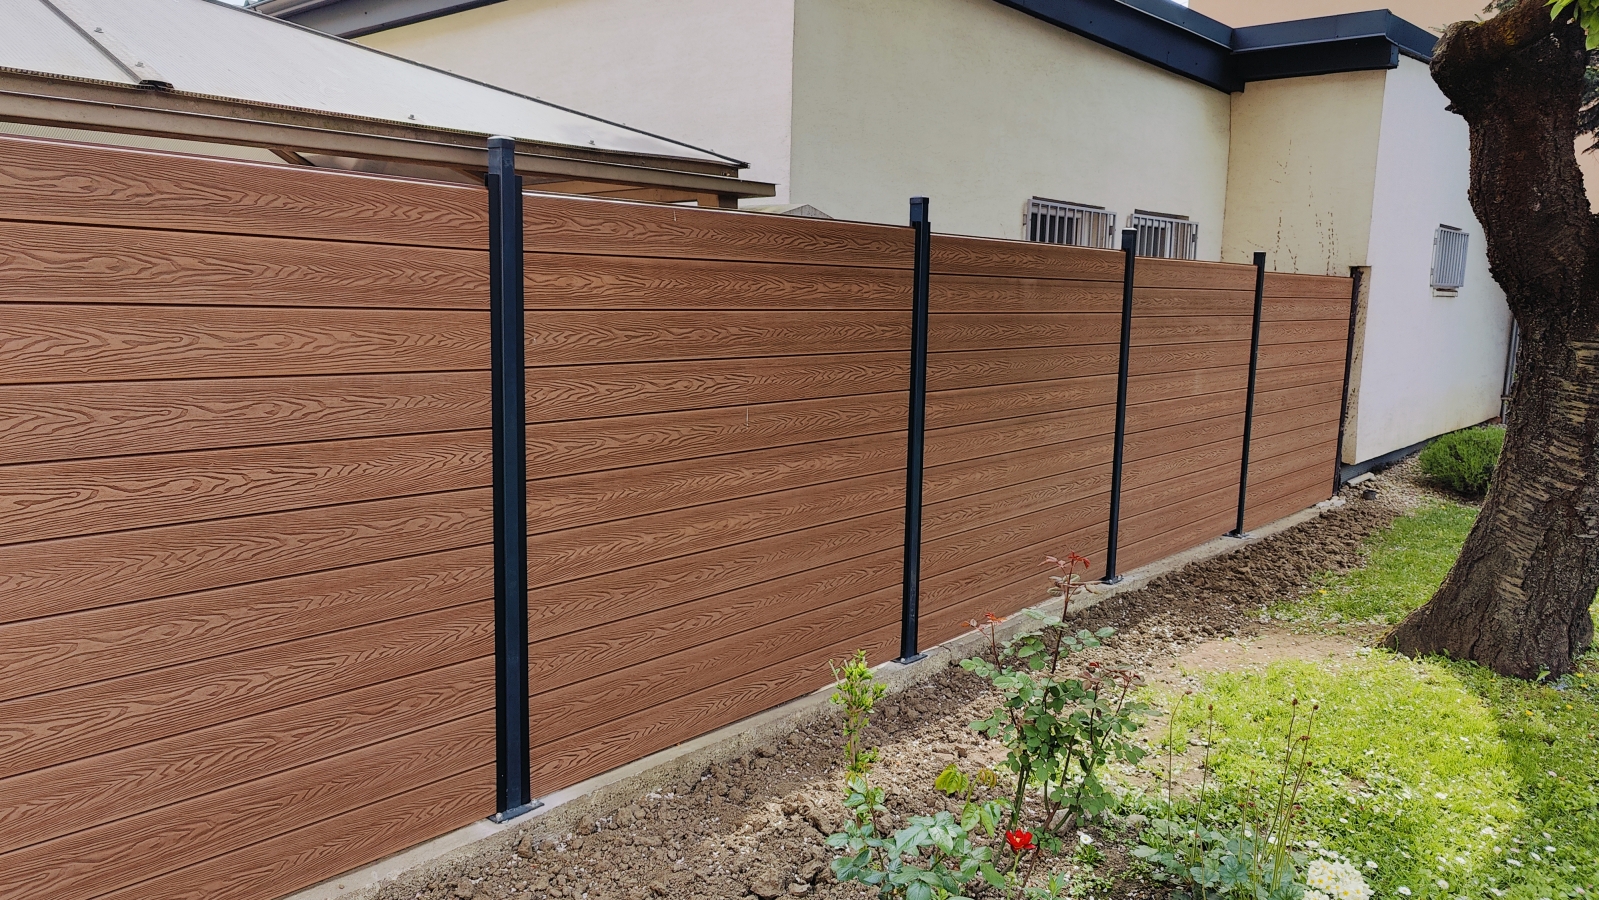
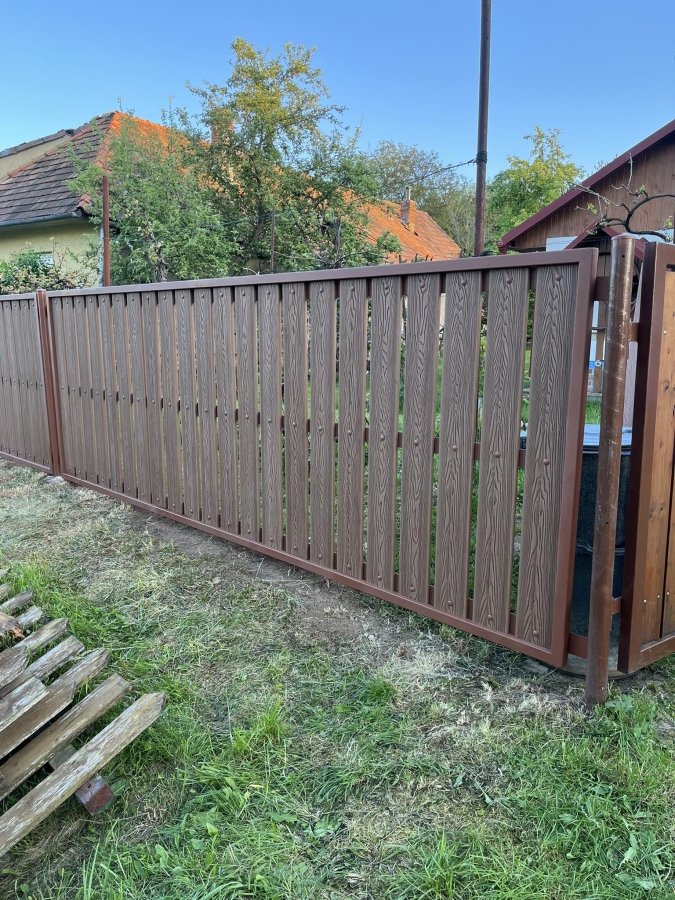
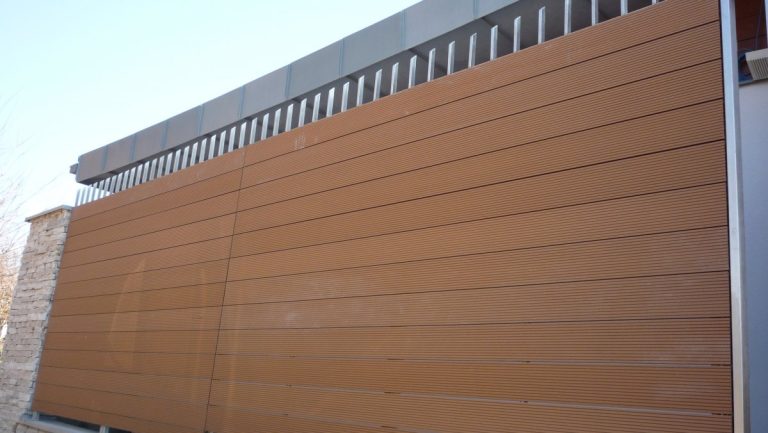
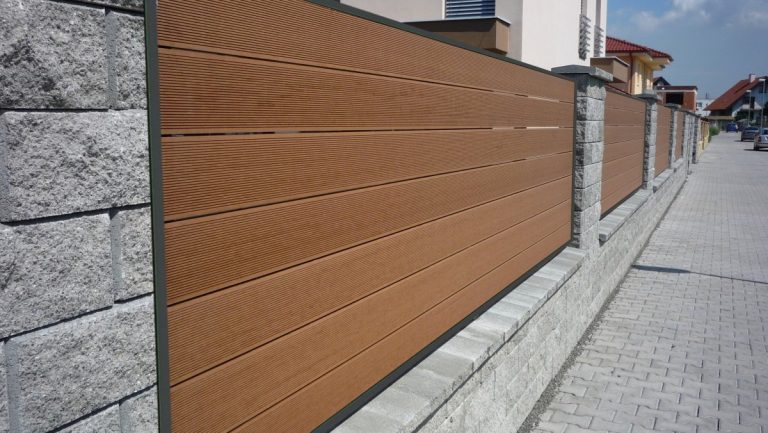
The Woodlook fencing system combines the look of wood with the durability of composite materials. The infills of the fencing systems are made of WPC composite – a wood-look material without regular maintenance. Featuring authentic details and easy installation, it provides an aesthetic solution for fences. Its long service life means beauty without demanding maintenance.
160 000 m²
sold in Slovakia, the Czech Republic, Poland and Hungary
Woodlook fencing system
Two systems. Easy installation.
Quick and easy installation
100% frost-resistant and waterproof
Virtually maintenance-free
Unrivalled lifespan

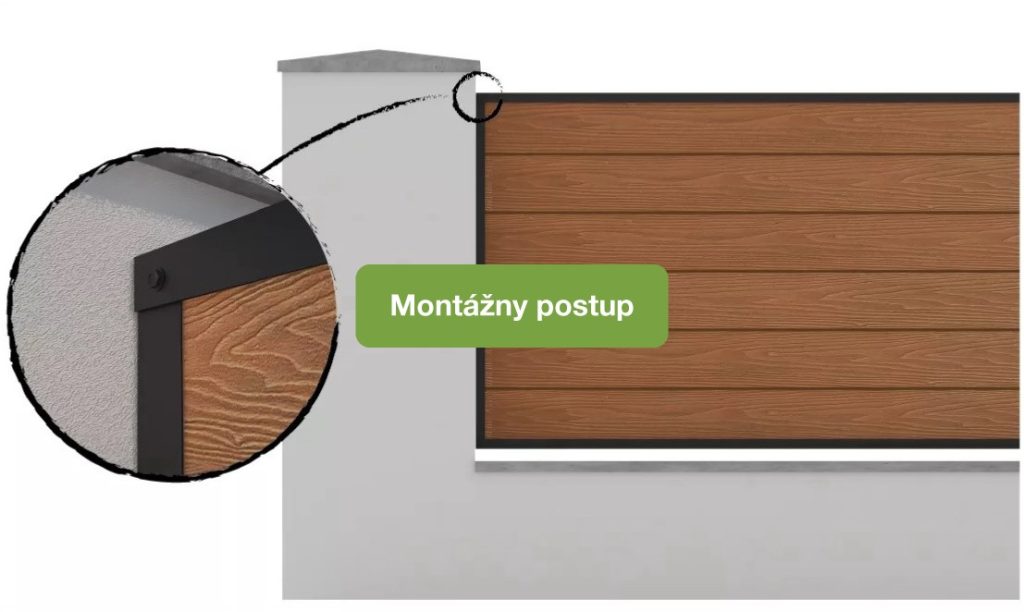
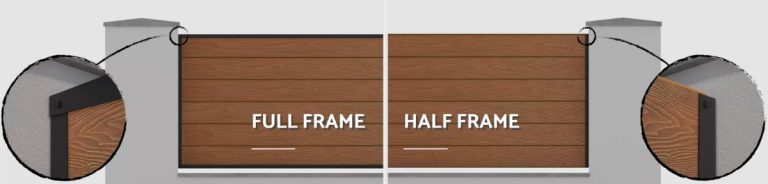
Full frame
Installation procedure →

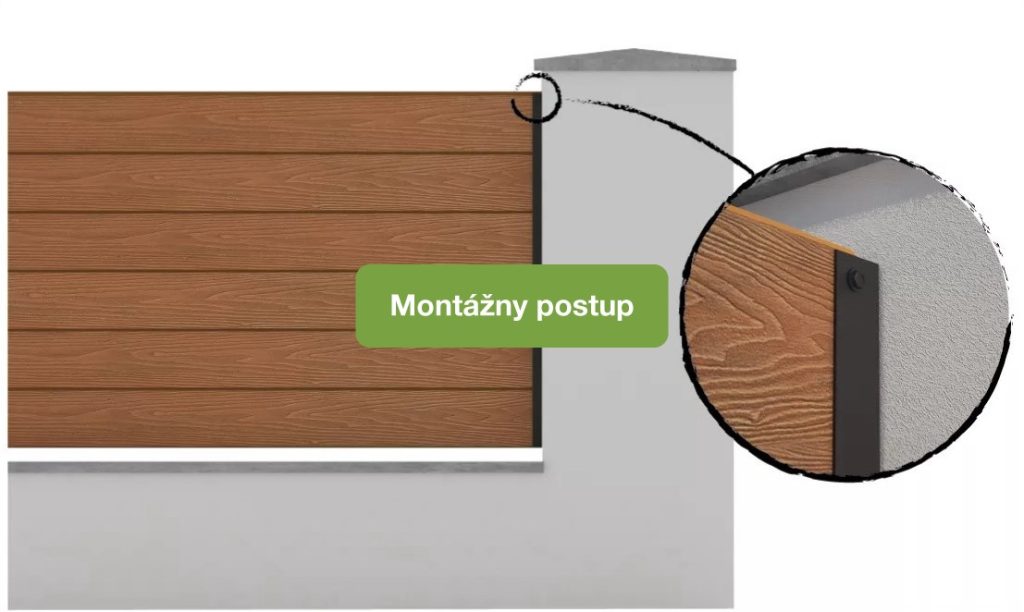
Half frame
Installation procedure →
Full frame
Installation procedure Full Frame.
Video – installation
Tools required
- hammer drill
- spirit level
- ceruzka
- kladivo
- metal drill bit Ø3 mm and Ø6 mm
- masonry drill bit Ø8 mm
- screwdriver
- PH2 and PZ3 bit
- 3M adhesive tape
Notes
The maximum width of a fence panel for this system without an additional reinforcing structure is 1.8 m. If there is excessive clearance between the Woodlook fence section and the side U-profile, we recommend applying 3M adhesive tape to the inside of the U-profile. The supplier accepts no liability for the system if the installation procedure is modified by the customer. If the paint on a screw or U-profile is damaged (scratched), a permanent marker of the matching colour can be used for touch-ups.
Step 1.
Pre-drill holes into the side U-profile using a 6 mm drill bit. (A minimum of 2 of the supplied screws must be used for the side U-profiles – at the start and end of the side U-profile, approximately 50 mm from the ends of the profiles). Next, place the side U-profile against the vertical face of the wall and align it using a spirit level. Mark the fixing points for the side U-profile on the wall. Drill 100 mm deep holes at the marked points using an 8 mm drill bit. Insert the supplied 8*100 mm frame plugs into the drilled holes. Position the side U-profile and fasten it with the appropriate screw (see photo).
Step 2.
Position the cover U-profile (identical for both bottom and top sections) at the bottom section (see photo). Do not screw this bottom cover U-profile in place yet. Before inserting the first Woodlook fence board, temporarily secure the U-profile to prevent it from moving.
Step 3.
Insert the first Woodlook profile into the prepared frame (2x side U-profiles screwed in place and 1x shimmed cover/bottom U-profile) right up to the wall of the bottom cover U-profile. Then, on both sides of the bottom cover U-profile, pre-drill holes with a 3 mm drill bit through both U-profiles (side and cover U-profiles) and the Woodlook profile. The hole depth should be max. 20 mm (do not drill through the entire frame assembly). Then drive the supplied 4.2*19 mm screws into the pre-drilled holes. After screwing both sides of the bottom profile, remove the temporary shims from under the bottom cover U-profile.
Step 6.
On both sides of the top cover U-profile, pre-drill holes with a 3 mm drill bit through both U-profiles (side and cover U-profile) and the Woodlook profile. The hole depth should be max. 20 mm (do not drill through the entire frame assembly). Next, drive the supplied 4.2*19 mm screws into the pre-drilled holes.
Final appearance of the Woodlook Full Frame fencing system
Half frame
Installation procedure for Half Frame.
Video – installation
Tools required
- hammer drill
- spirit level
- ceruzka
- kladivo
- metal drill bit Ø3 mm and Ø6 mm
- masonry drill bit Ø8 mm
- screwdriver
- PH2 and PZ3 bit
- 3M adhesive tape
Notes
The maximum width of a fence panel for this system without an additional reinforcing structure is 1.8 m. If there is excessive clearance between the Woodlook fence section and the side U-profile, we recommend applying 3M adhesive tape to the inside of the U-profile. The supplier accepts no liability for the system if the installation procedure is modified by the customer. If the paint on a screw or U-profile is damaged (scratched), a permanent marker of the matching colour can be used for touch-ups.
Step 1.
Pre-drill holes into the side U-profile using a 6 mm drill bit. (A minimum of 2 of the supplied screws must be used for the side U-profiles – at the start and end of the side U-profile, approximately 50 mm from the ends of the profiles). Next, place the side U-profile against the vertical face of the wall and align it using a spirit level. Mark the fixing points for the side U-profile on the wall. Drill 100 mm deep holes at the marked points using an 8 mm drill bit. Insert the supplied 8*100 mm frame plugs into the drilled holes. Position the side U-profile and fasten it with the appropriate screw (see photo).
Step 2.
Slide the first Woodlook fence profile into the prepared side U-profiles and shim it at the desired height. Then, on both side U-profiles, pre-drill holes with a 3 mm drill bit through the Woodlook fence profile. The hole depth should be max. 19 mm (do not drill all the way through the structure). Then drive the supplied 4.2*19 mm screws into the pre-drilled holes. After screwing both sides, remove the temporary shims from under the fence profile.
Step 4.
On both side U-profiles, pre-drill holes with a 3 mm drill bit through the last Woodlook fence profile. The hole depth should be max. 19 mm (do not drill all the way through the structure). Then drive the supplied 4.2*19 mm screws into the pre-drilled holes.
Final appearance of the Woodlook Half Frame fencing system
Option A
Without modifying the top fence board.
Option B
To achieve a flush finish for the top fence board (without tongue and groove), the Woodlook fence board can be modified by cutting off the tongue-and-groove joint and chamber, changing the overall width of the fence board from 16 cm to 12.5 cm.
Gallery
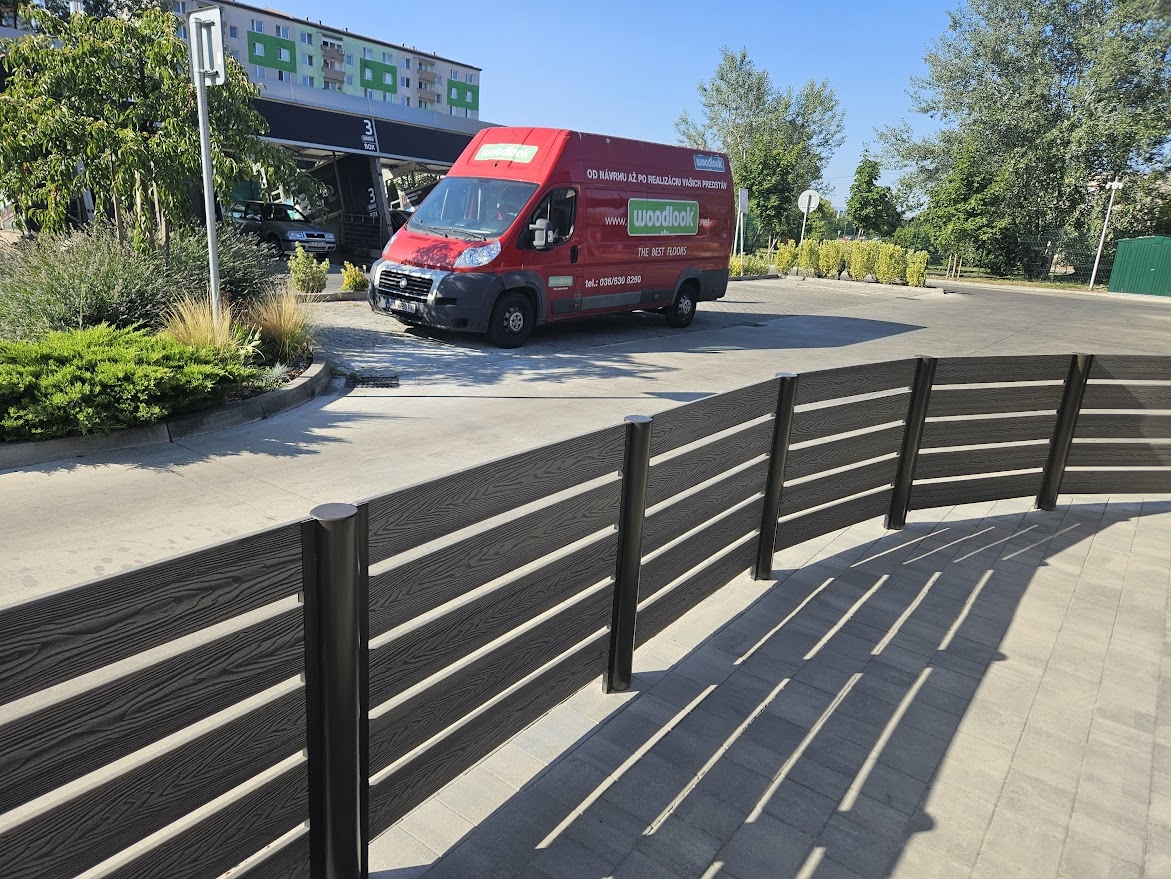
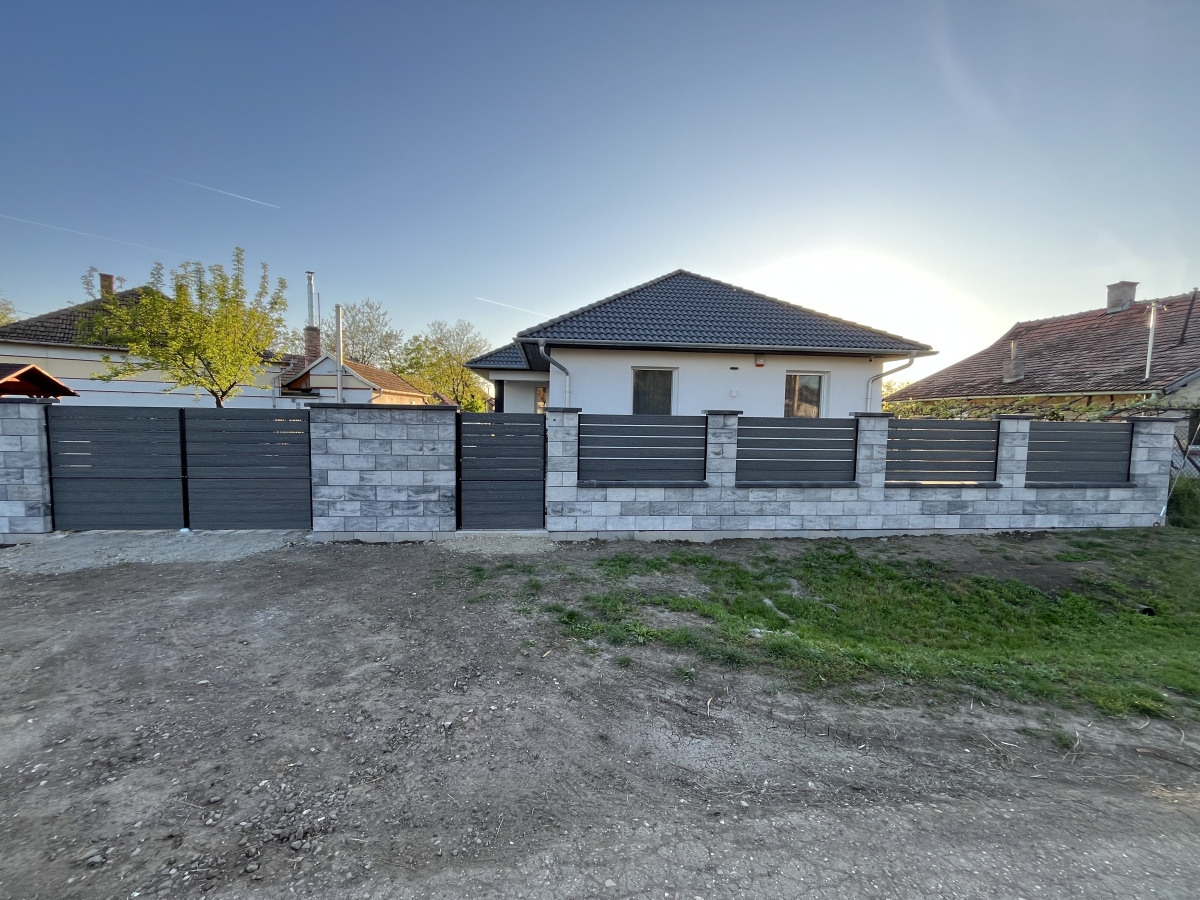
Examples of Woodlook material use.
Video
Fencing systems in real life.
Loads content from YouTube (Google) – clicking confirms your consent.
Tips and guides
You might be interested in.
21. 9. 2026
21. 9. 2026
21. 9. 2026
Planning a fence?
We will prepare a price quotation for you.
View samples in person at a partner near you, or contact us directly. Turnkey installation or support for DIY installation.
Other products